It's Jammer Thyme: Strawberry Thyme Freezer Jam

Strawberry Thyme Freezer Jam

Strawberry Thyme Freezer Jam

Who doesn't love jam? It's pretty much the perfect sweet saucy thing for everything from smearing on toast to dolloping over heaping bowls of ice cream. 

But, like, let's be honest here. Have you ever actually made your own jam? I don't know about you but classic jam making just doesn't fit in the square footage of my teeny little kitchen and picking up a jar from the farmers market or grocery store just seems 18,000x simpler.

That is, until now! 

Meet freezer jam, you're new favourite Springy/Summery thing to make. It's filled with fresh fruit flavours, stores beautifully in the fridge and freezer, and is a cinch to make!

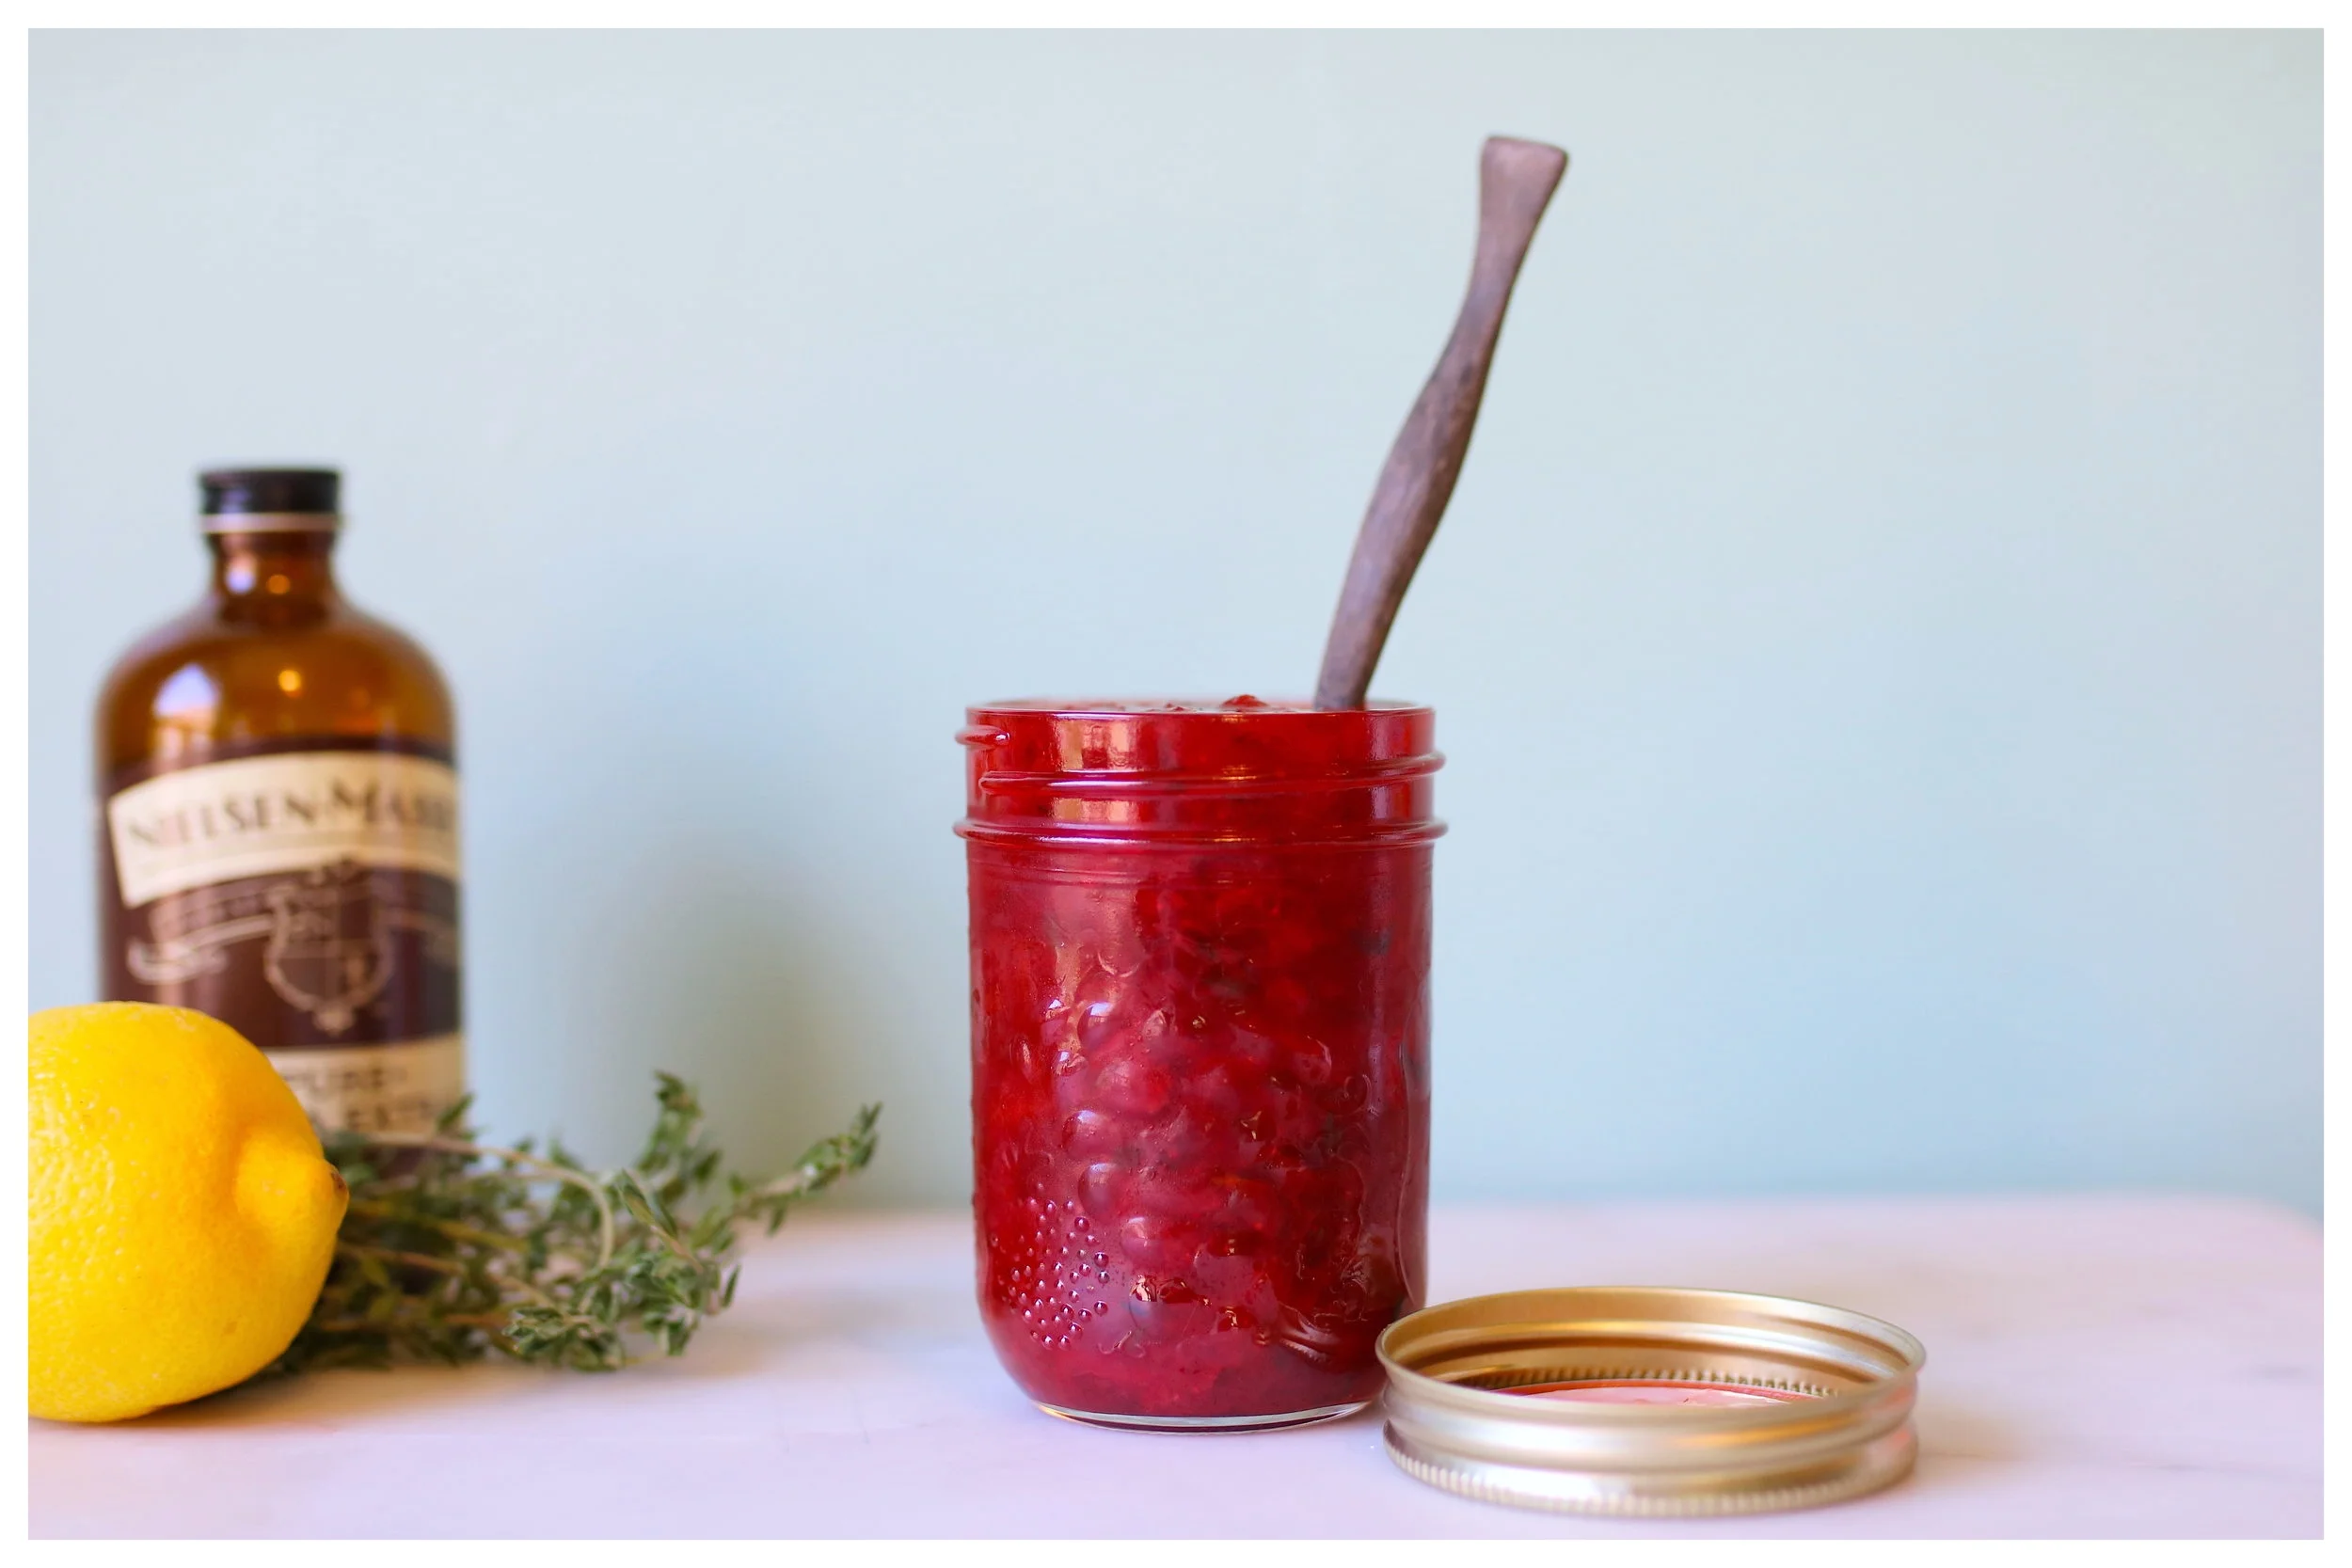
This strawberry thyme freezer jam is the perfect recipe to use up all of those beautiful berries that are just about to pop up at markets and that little hint of thyme, lemon, and vanilla is a freaking dream!


Strawberry Thyme Freezer Jam

Makes three 250ml jars

4 cups trimmed and sliced strawberries
¾ cup sugar
½ lemon, zested and juiced
1–1 ½ teaspoons fresh thyme leaves
½ teaspoon vanilla extract or ¼ vanilla bean, split and scraped

In a large pot over set over medium heat, combine the strawberries, sugar, lemon zest and juice, and thyme leaves. If you are using a vanilla bean, add the scrapings and the pod now but if you’re using vanilla extract, save that to add at the very end.

Bring the mixture to a rolling boil, stirring frequently with a spoon and mashing the strawberries slightly. I like to use a potato masher for this. Turn the heat down to medium low and simmer for 10 minutes or so or until jammy.

Remove the jam from the heat and add in vanilla extract, if using. Allow the jam to cool slightly then divide into your jars. Allow the jam to cool completely then seal with lids and pop one jar into your fridge to chill and two into your freezer for later use.


Braided Golden Challah

IMG_2408.JPG

Challah: what isn't it good for?

Stuffing? Yes please!
French toast?  Oooohhhh baby
Slathered with butter and jam for breakfast?  OK!
Oozy grilled cheese?  Yuh-huh!
Fresh out of the oven?  Duh!

Sure, you could pick up a loaf at the store but making this beautifully braided bread at home is so easy!

The perfect eggy bread for your Easter feast or really any occasion that could use a slightly sweet, super simple, perfectly plaited loaf!  


Classic Challah

Makes 2 loaves

2 ½ cups very warm water
4 teaspoons active dry yeast
2 teaspoons sugar
½ cup honey
¼ cup vegetable oil
2 large eggs
7–8 cups all-purpose flour
1 tablespoon kosher salt
2 large egg yolks
1 tablespoon sesame seeds and/or poppy seeds

In the bowl of your stand mixer, whisk together the warm water, yeast, and sugar and allow the yeast to bloom and bubble up for around 10 minutes.

When the yeast is all lovely and foamy, beat in the honey, vegetable oil, and eggs.  Holding the hook attachment for your stand mixer in your hand, beat in one cup of flour at a time until it gets too difficult to mix by hand.  Add in the salt.  Attach the hook to the mixer and knead the dough until it is smooth, elastic, and no longer sticky, adding more flour as needed.

Cover the bowl with a small piece of plastic wrap and a clean kitchen towel and allow the dough to rise in a warm place for 1–1 ½ hours or until doubled in bulk.

When the dough has risen, punch it down and turn it out onto a lightly floured surface.  Divide the dough in half and give each a few kneads.  Set the balls of dough aside for about 5 minutes to relax the gluten then divide each ball into three equal pieces.  Roll each into a long snake about 1 ½ inches in diameter.  Pinch the ends of three snakes together and braid them into one loaf.  Do the same to the other three pieces of dough and lightly grease two baking sheets.  Place the braided loaves onto the baking sheets and lightly cover each with plastic wrap and a clean kitchen towel and allow them to rise again in a warm spot for about one hour.

Preheat the oven to 375F and beat the egg yolks with 2 tablespoons of water in a small bowl.  Using a pastry brush, lightly brush the loaves with the egg wash and sprinkle each with sesame seeds and/or poppy seeds.  Pop the loaves into the oven for 20–30 minutes or until a deep golden brown then loosely tent the loaves with aluminum foil.  Continue baking the loaves for 10–15 minutes or until the internal temperature of the bread registers 190F.

Remove the loaves from the oven and transfer them to a wire rack to cool.

Store the loaves well wrapped at room temperature for up to 3 days or freeze for up to 1 month.

No Knead, No Problem! My go-to bread for lazy days

No-Knead Bread

No-Knead Bread

This bread is literally the easiest bread out there.  No snazzy yeast, no finicky sourdough starter, just some baking soda, baking powder, and buttermilk to get this dense and delicious loaf ready for your plate!


Easy No-Knead Bread

Makes 1 loaf

2 cups all-purpose flour
2–2 ½ cups spelt or whole-wheat flour
1 teaspoon kosher salt
1 teaspoon baking soda
2 teaspoons baking powder
1 ¾–2 ¼ cups buttermilk, plus a little for brushing
2 tablespoons unsalted butter, melted
2 tablespoons runny honey
¼ cup pumpkin seeds

Preheat your oven to 425F and line a large baking sheet with parchment paper.

In a large bowl, whisk together the all-purpose flour, whole-wheat or spelt flour, salt, baking soda, and baking powder.  Make a well in the centre of the dry ingredients and pour in 1 ¾ cups of the buttermilk followed by the melted butter and honey.  Using a wooden spoon, stir until all of the liquid has been evenly mixed in.  If needed, feel free to add some of the remaining buttermilk to make the dough come together.

Once the dough is too stiff to stir with the spoon, lightly flour a work surface and turn the dough out onto it.  Gently knead the dough to form it into a rough loaf but be careful not to overwork it.

Transfer the dough to the parchment lined baking sheet and, using a large knife, score an ‘X’ across the top making sure to cut about halfway down.  Use a pastry brush to paint a thin layer of buttermilk all over the top of the loaf and scatter the top with pumpkin seeds.

Bake the bread in your preheated oven for 25 minutes then reduce the heat on your oven to 350F and continue to bake for an additional 20–25 minutes or until the loaf sounds hollow when you rap on the top with your knuckles.

Transfer your loaf to a wire rack and allow it to cool.

The Sauce Fiend Chronicles: Spaghetti al Limone

Spaghetti al Limone

Spaghetti al Limone

The first time I made Spaghetti al Limone was during my undergrad.  I was living with four other girls and, being me, went into cooking and cleaning fits whenever the stresses of academia were mounting. 

I like to think of it as productive procrastination…

My roommates, each of whom were much more involved in sports and such than I have ever been, would often come home to three dozen cookies, a cake or two, litres of tomato sauce cooling on the counter, and a chicken roasting away in the oven.  Their first instinct was always glee at not having to slog through the kitchen after a big practice whipping up their own meal.  Their second was to make sure I was ok…  I mean, not everyone deals with seemingly insurmountable deadlines by doing chores…

During one such time, I was going through a bit of a lemon phase.  The dreary long nights at the end of the Fall semester had me craving sunshine so lemons were everywhere.  Seriously.  I put those bad boys in chicken, tall pitchers of lemonade, squeezed and zested into teatime treats, and literally anything else I could think of that needed a little kick of summer.

That is what led me to discover the wonder that is Spaghetti al Limone. 

It’s so easy and delicious and, in my mind, you can never make it lemony enough!  Now, upon taste testing my first go at this classic Italian dish, one of my roommates did scrunch up her face and promptly put her fork down.

“It tastes like Skittles…”

Well, you can’t win them all.  And yes, I might have added a *tinge* too much lemon for some palates but, come on!  Lemon!  It’s the best!

Since then, I’ve toned down the lemony kick and balanced it with the perfect amount of smoky extra virgin olive oil, nutty Parmesan cheese, fresh leafy parsley, and salty little capers.  It has become a staple in my “oh-man-we-have-nothing-to-eat-what-should-I-make-for-dinner” repertoire and I hope it will become that for you too!


Spaghetti al Limone

Serves 2 (with some leftovers, if you’re not too hungry at dinner)

250g dry spaghetti
1 tablespoon lemon zest
¼ cup freshly squeezed lemon juice, about 2 lemons
¼ cup extra virgin olive oil
¼ teaspoon dry chilli flakes
2 tablespoons capers
2 tablespoons chopped fresh parsley
½ cup freshly grated Parmesan cheese, plus more for serving
Salt and pepper, to taste

In a large pot of boiling salted water, cook the spaghetti until al dente.

Meanwhile, whip up the sauce by combining the lemon zest, lemon juice, extra virgin olive oil, chilli flakes, capers, parsley, Parmesan cheese, and salt and pepper in a small bowl.

When the spaghetti is cooked to al dente, scoop out and reserve about a half-cup of the cooking liquid and drain well.  Pour the pasta back into the pot and stir the sauce through, making sure that each noodle is well coated.  If needed, add a splash or two of the reserved cooking liquid to loosen the sauce up a bit.

Now, crown with a sprinkling of some fresh pepper and freshly grated Parmesan and dig into summer!