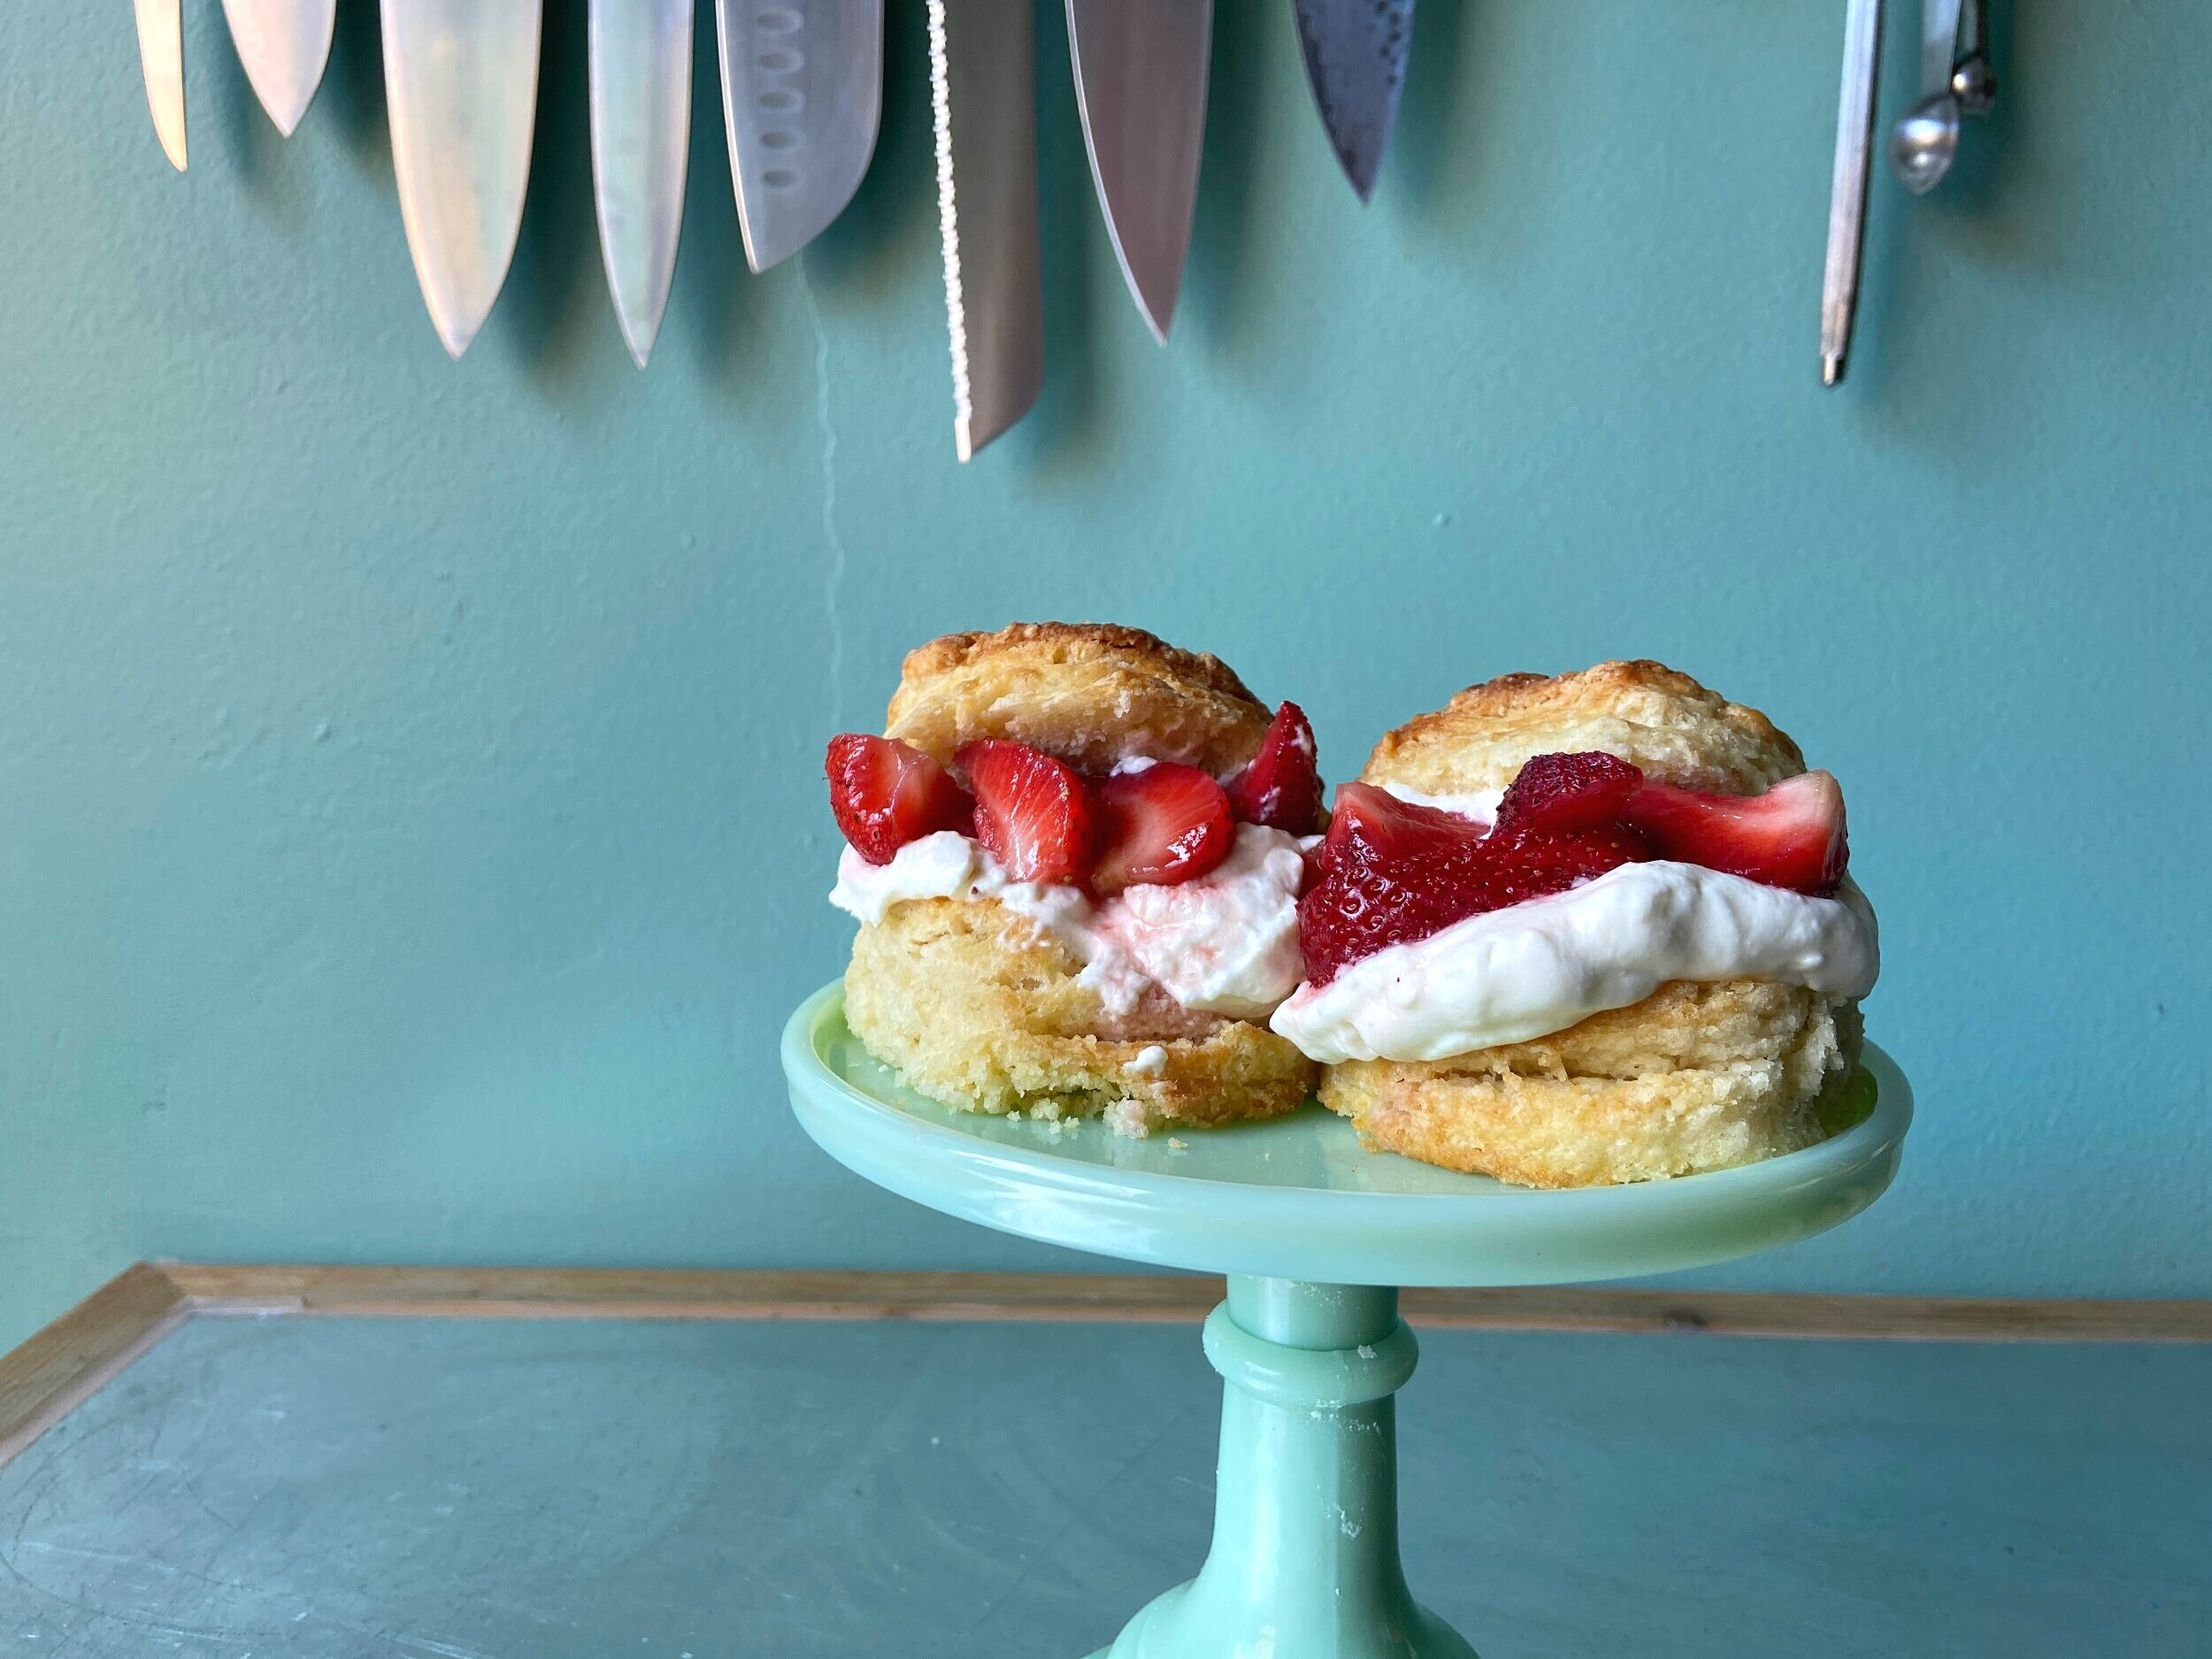
Classic Strawberry Shortcakes
Serves 5 to 6
1 1/2 cups all-purpose flour*
2 tablespoons sugar
1 tablespoon baking powder
1/2 teaspoon salt
6 tablespoons unsalted butter, cold and cut into pats
2/3–3/4 cup cold buttermilk
1 tablespoons whipping cream (or more buttermilk), for brushing the tops of the biscuits
2 teaspoons turbinado sugar, optional, for sprinkling on top of the biscuits
Preheat your oven to 450ºF and line an 8- or 9-inch round cake pan with parchment paper. Set aside.
In a mixing bowl, whisk together the flour, sugar, baking powder, and salt to combine. Add in the cold butter and snap and rub the butter in with your fingertips just until the mixture is crumbly and the butter pieces are about the size of a pea. Make a well in the centre of the mixture and add in 2/3 cup of the cold buttermilk. Stir the mixture just until a very shaggy dough forms, adding more buttermilk if needed.
Lightly dust a work surface with some more flour. Turn the dough and any crumbly bits out onto the surface and lightly press and fold the mixture together until it holds its shape. Some remaining crumbly bits are ok - you just don’t want to over-work the dough as this will leave you with tough cakes. Press or roll the dough out into a 1-inch thick circle and, using a biscuit cutter or a wine glass, cut out 2- to 2 1/2-inch cakes. Gather and re-roll the dough up to another two times to cut out as many cakes as you can.
Transfer the cakes to the prepared cake pan so that they are all touching and brush the tops with the whipping cream or extra buttermilk. Sprinkle over the turbinado sugar and bake in your preheated oven for 15 to 20 minutes or until golden brown.
Allow the shortcakes to cool before splitting and topping with whipped cream and macerated strawberries (recipe follows).
Cream Cheese Whipped Cream
1/4 cup cream cheese, room temperature
1 cup whipping cream, cold from the fridge
2–3 tablespoons powdered sugar
1/2 teaspoon vanilla extract
In a mixing bowl or the bowl of your stand mixer, beat the cream cheese with a whisk attachment until smooth. Add in about 1/4 cup of the whipping cream and beat just to combine. Add in the remaining whipping cream, powdered sugar to taste, and vanilla and whip just until stiff peaks form, about 1 to 2 minutes.
Use immediately or store in the fridge for up to two days.
Macerated Strawberries
454g strawberries, washed, trimmed, and quartered
2 tablespoons sugar
1/2 teaspoon vanilla extract
Gently stir together the quartered strawberries, sugar, and vanilla and set aside on the counter for 1 to 2 hours to allow the strawberries to become juicy and syrupy. If you’d like to make this in advance, feel free to mix everything up and place in the fridge for up to two days.
*Gluten-free all-purpose blends work really nicely in these shortcakes and, if you’re unable to find AP, cake & pastry will work well too.