Classic Strawberry Shortcakes

Classic Strawberry Shortcakes

Classic Strawberry Shortcakes

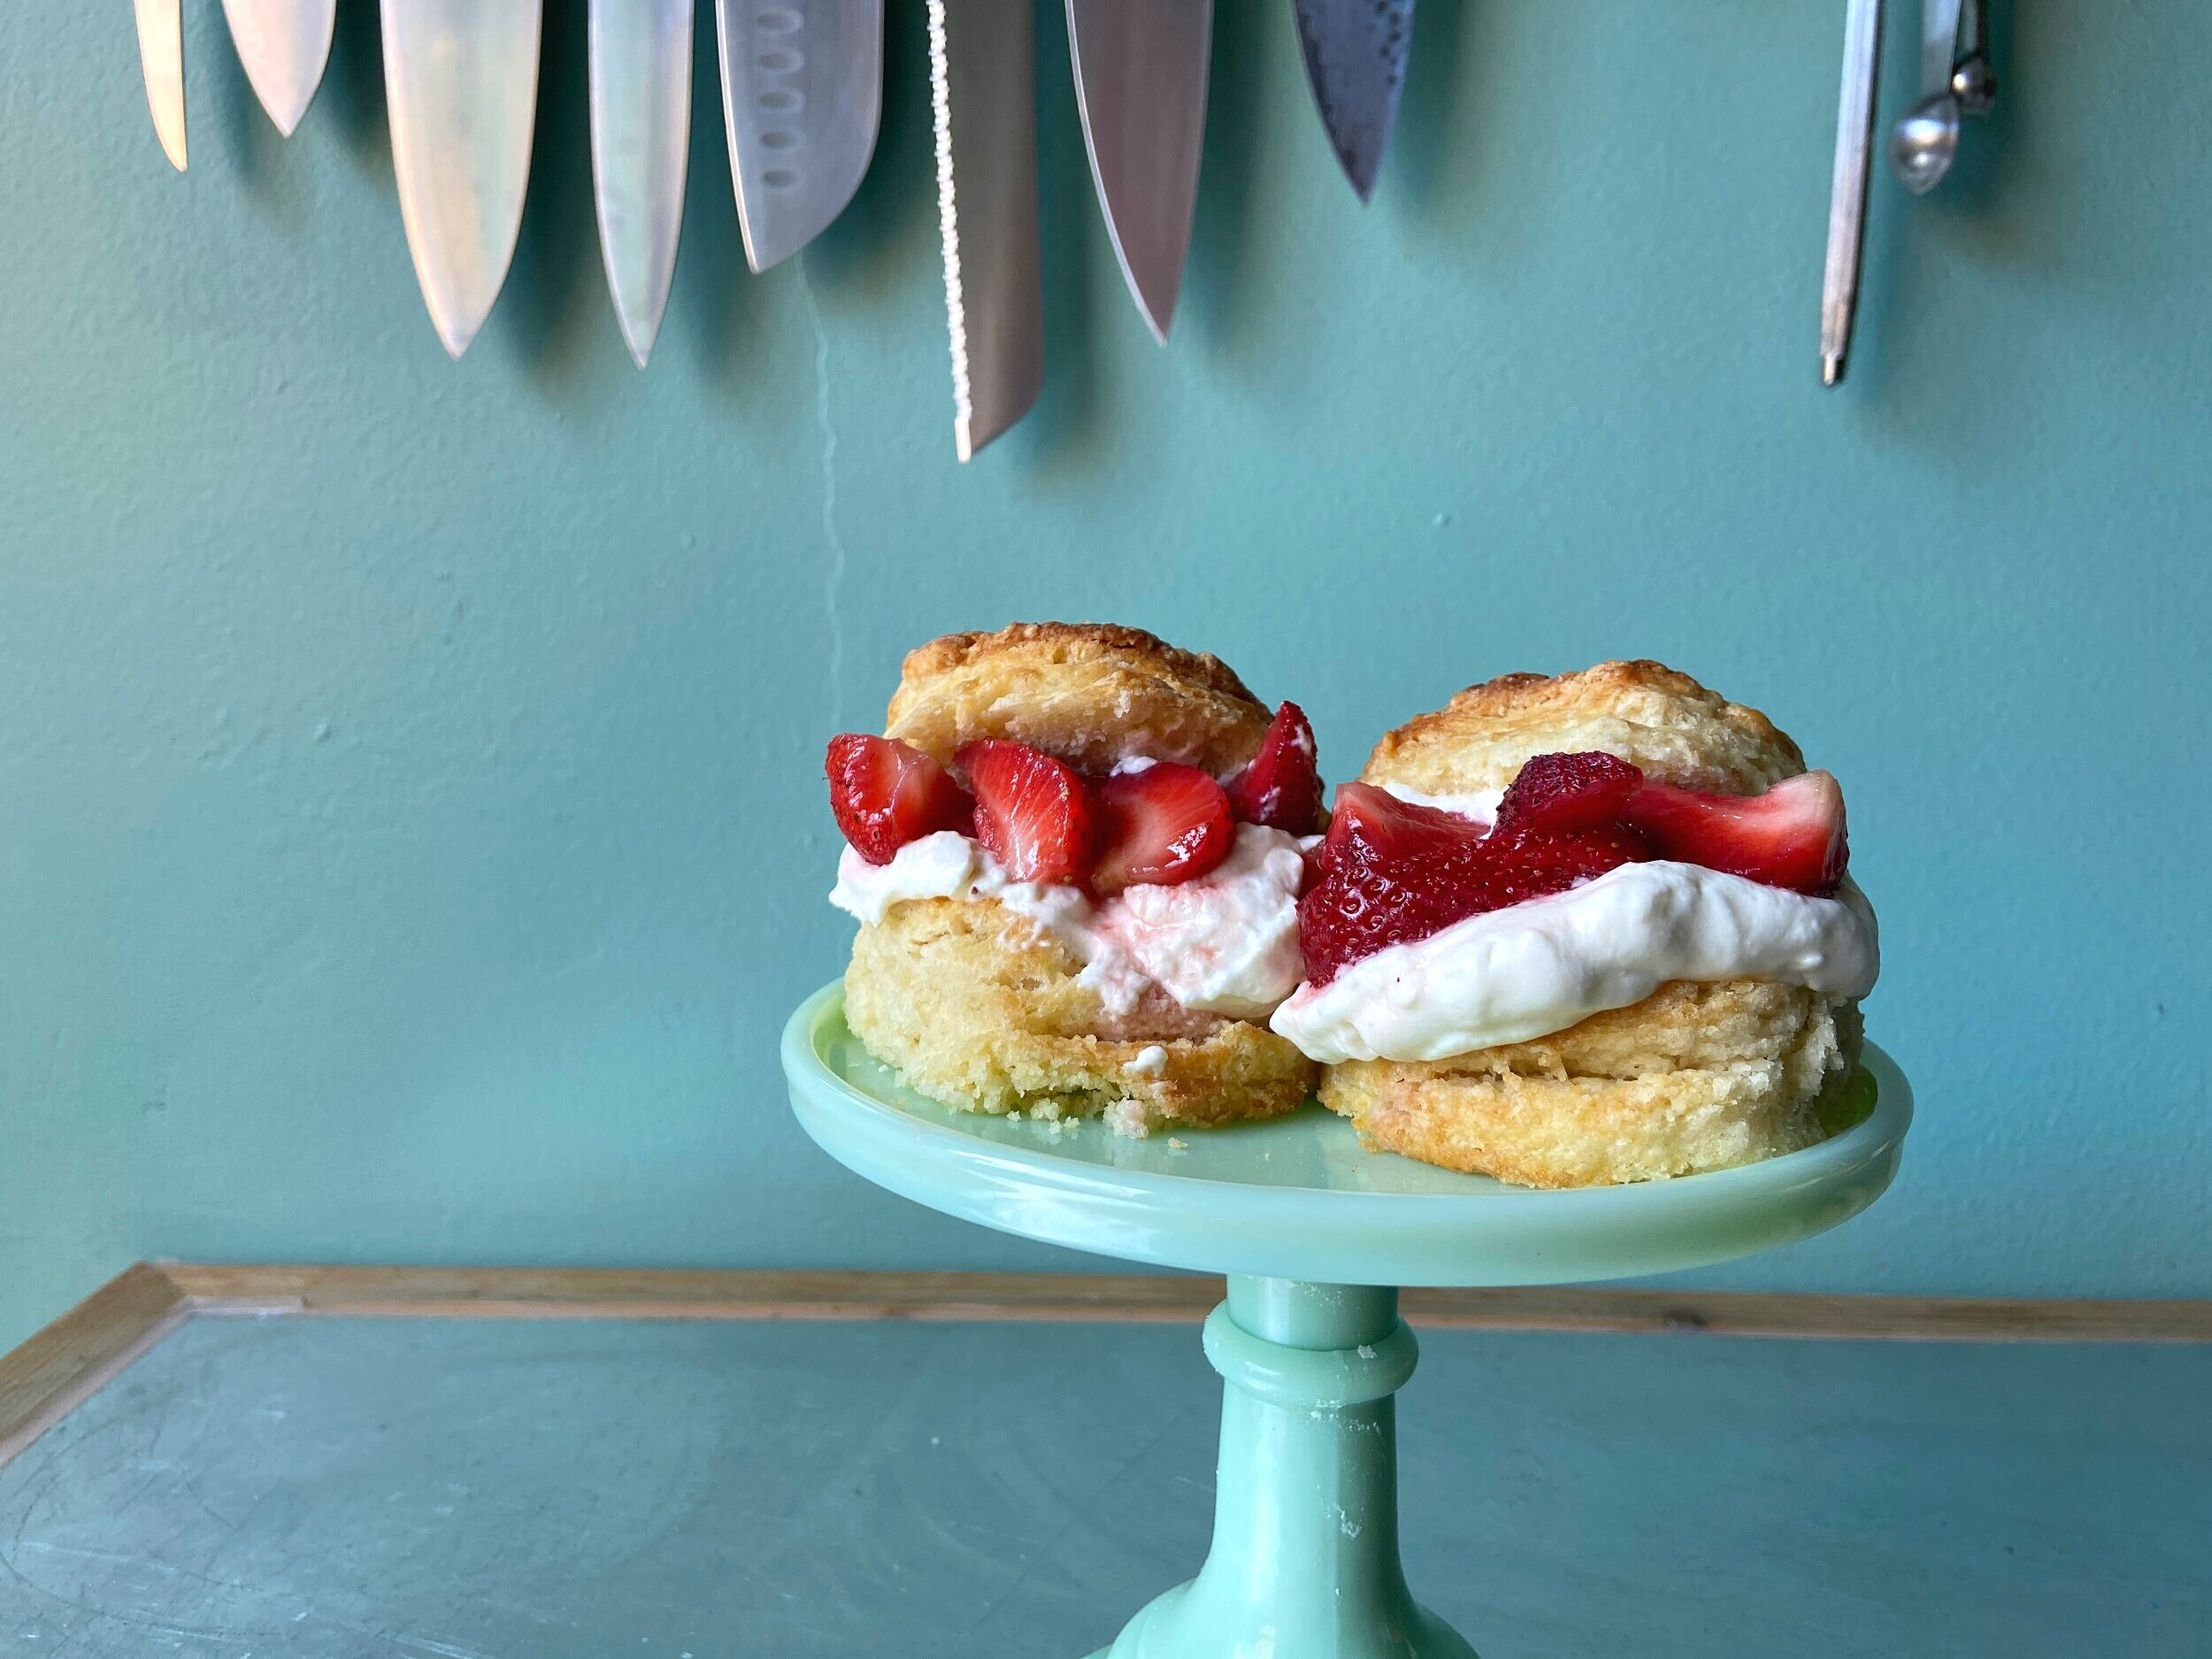
To me, nothing says “summer’s here!” quite like a short & sweet little biscuit filled with light & lofty whipped cream and bright berries!


Classic Strawberry Shortcakes

Serves 5 to 6

1 1/2 cups all-purpose flour*
2 tablespoons sugar
1 tablespoon baking powder
1/2 teaspoon salt
6 tablespoons unsalted butter, cold and cut into pats
2/3–3/4 cup cold buttermilk
1 tablespoons whipping cream (or more buttermilk), for brushing the tops of the biscuits
2 teaspoons turbinado sugar, optional, for sprinkling on top of the biscuits

Preheat your oven to 450ºF and line an 8- or 9-inch round cake pan with parchment paper. Set aside.

In a mixing bowl, whisk together the flour, sugar, baking powder, and salt to combine. Add in the cold butter and snap and rub the butter in with your fingertips just until the mixture is crumbly and the butter pieces are about the size of a pea. Make a well in the centre of the mixture and add in 2/3 cup of the cold buttermilk. Stir the mixture just until a very shaggy dough forms, adding more buttermilk if needed.

Lightly dust a work surface with some more flour. Turn the dough and any crumbly bits out onto the surface and lightly press and fold the mixture together until it holds its shape. Some remaining crumbly bits are ok - you just don’t want to over-work the dough as this will leave you with tough cakes. Press or roll the dough out into a 1-inch thick circle and, using a biscuit cutter or a wine glass, cut out 2- to 2 1/2-inch cakes. Gather and re-roll the dough up to another two times to cut out as many cakes as you can.

Transfer the cakes to the prepared cake pan so that they are all touching and brush the tops with the whipping cream or extra buttermilk. Sprinkle over the turbinado sugar and bake in your preheated oven for 15 to 20 minutes or until golden brown.

Allow the shortcakes to cool before splitting and topping with whipped cream and macerated strawberries (recipe follows).

Cream Cheese Whipped Cream

1/4 cup cream cheese, room temperature
1 cup whipping cream, cold from the fridge
2–3 tablespoons powdered sugar
1/2 teaspoon vanilla extract

In a mixing bowl or the bowl of your stand mixer, beat the cream cheese with a whisk attachment until smooth. Add in about 1/4 cup of the whipping cream and beat just to combine. Add in the remaining whipping cream, powdered sugar to taste, and vanilla and whip just until stiff peaks form, about 1 to 2 minutes.

Use immediately or store in the fridge for up to two days.

Macerated Strawberries

454g strawberries, washed, trimmed, and quartered
2 tablespoons sugar
1/2 teaspoon vanilla extract

Gently stir together the quartered strawberries, sugar, and vanilla and set aside on the counter for 1 to 2 hours to allow the strawberries to become juicy and syrupy. If you’d like to make this in advance, feel free to mix everything up and place in the fridge for up to two days.

*Gluten-free all-purpose blends work really nicely in these shortcakes and, if you’re unable to find AP, cake & pastry will work well too.
Insert Corny Pun Here... Honey Roasted Peanut Caramel Corn

Honey Roasted Peanut Caramel Corn

Honey Roasted Peanut Caramel Corn

If there were such a thing as a buffet that served literally every single type of food, you would most definitely find me near the popcorn.  Whether it's  plain, that almost hypnotic movie theatre yellow, snazzed up with cheese, or coated in a thick layer of sweet, treacly caramel, I will, without hesitation, polish off every little kernel in sight.  

While all and any flavouring will do, this here is kind of a show stopper in my books.  The combination of sweet honey roasted peanuts and an almost flowery honey-infused caramel just makes this oh-so addictive snack that much more gobble-able!


Honey Roasted Peanut Caramel Corn

Makes around 10­–12 cups

10~ cups popped plain popcorn (3~ bags or 1/3 cup kernels, popped)
½ cup unsalted butter
¾ cup brown sugar
½ cup honey
¾ teaspoon kosher salt
½ teaspoon baking soda
1 teaspoon vanilla extract
1 ½ cups honey roasted peanuts

Preheat your oven to 250F and line two rimmed baking sheets with aluminum foil, dull side up, and grease with non-stick cooking spray.

Pour all of the popcorn into your largest mixing bowl and set aside.

In a medium saucepan over medium heat, melt the butter.  Once melted, add in the sugar, honey, and salt and bring to a boil.  Turn the heat down to medium low and allow the caramel to bubble away for 4­­–5 minutes.  Remove the caramel from the heat, stir in the baking soda and vanilla being careful of boil over, and quickly pour the caramel over the popcorn.  Quickly and carefully mix everything together until the popcorn is nicely coated with the caramel, scatter in the peanuts, and continue to stir until well combined and everything is evenly coated.

Divide the caramel corn between the two baking sheets and spread into an even layer.  Bake for 1 hour in the preheated oven, stirring every 15 minutes and rotating the pan halfway through.

Allow the caramel corn to cool completely then break it up and serve!

It's January soo... Doughnuts

Vanilla Glaze Cake Doughnuts

Vanilla Glaze Cake Doughnuts

January can pretty much be summed up in one word: blah.  

It's the month when Mopey Mary rears her ugly head to make every day feel drawn out, dull, and dreary.  The holidays are over, the glow of the new year has started to fade, and all I really have to look forward to are the short, chilly days of winter.  Every year I tell myself to plan a holiday for mid-January but, instead, I spend my days drudging through work and my evenings lazing about on the couch watching mainly murder shows because, well, murder shows are pretty great and why the heck not?
(ps how am I only watching Fargo now?!)

In my mind, there is only one thing that can help spurn that grumpy gal to the sidelines and that is doughnuts.  Sure, any sweet would do and I sure have had my fair share of chocolate chip cookies, cupcakes, and brownies these past two and a half weeks but doughnuts!  Oh baby, doughnuts are the answer to my forlorn prayers!

Draped with a Simpsons-esque pink glaze and scattered with a few little sprinkles, nothing brings a smile to my face and a spring to my step quite like a classic vanilla dip!  As I tend to be a bit lazy this time of year, these little puppies are a classic cake doughnut rather than a yeast risen because when I want doughnuts, I don't want to have to wait on yeast!

So, what are you waiting for?  Banish those January blues and get to frying!


Vanilla Cake Doughnuts

Makes 12 doughnuts and 12 doughnut holes

2 ¾ cups all-purpose flour
½ cup sugar
1 tablespoon baking powder
½ teaspoon salt
1 cup buttermilk
1 egg
¼ cup unsalted butter, melted
2 teaspoons vanilla extract

In a large bowl, sift together the flour, sugar, baking powder, and salt and make a well in the centre of the dry ingredients.  In a separate bowl, whisk together the buttermilk, egg, melted butter, and vanilla.  Pour this wet mixture into the well and mix just until a soft dough forms.  Cover your bowl with plastic wrap and refrigerate the dough for 1 hour.

Remove the dough from the fridge and heat about 2 inches of vegetable oil in a large, deep pot over medium heat until a thermometer registers at 350F.  On a generously floured work surface, roll out your chilled dough to a ½ inch thickness and, using a 3-inch round cutter, cut out as many rounds as possible.  Using a 1-inch round cutter, remove the very centre of each circle, giving you doughnuts and doughnut holes! 

Feel free to bring the remaining dough together to reroll and cut out more doughnuts but only do this once as rerolling the dough a third time might make the doughnuts a bit tough.

Before frying, prepare a draining station for your doughnuts by lining a cookie sheet with paper towel and a cooling rack.

Now, it’s time to fry!  Gently lower four or five doughnuts into the hot oil and cook, flipping once, until all the doughnuts are golden brown and lovely.  Remove the cooked doughnuts to the rack-lined cookie sheet and continue to fry until all of your doughnuts and doughnut holes are done.

When cooled, dunk each doughnut and doughnut hole in classic vanilla or chocolate glaze and leave to set for at least 30 minutes.


Classic Vanilla Dip Glaze

1 ¾ cups icing sugar
2–3 tablespoons milk
1 teaspoon vanilla extract
8–12 drops red food colouring
Sprinkles, for decorating

In a small bowl, whisk together the icing sugar, milk, vanilla, and food colouring until smooth.  Dunk your doughnuts into the glaze followed immediately by a scattering of sprinkles and allow the doughnuts to set up for at least 30 minutes.

Frittering the day away: Apple Fritters

Apple Fritters with Maple Glaze

Apple Fritters with Maple Glaze

Every Saturday morning during my undergrad, I would cajole at least one of my roommates out of bed at an unearthly hour to join me on my weekly trek to the St. Jacob's Farmers Market only to wait in a line reaching around the building for freshly made, piping hot apple fritters.

While they were always rewarded with their fair share of the journey's spoils, I've since figured out my own recipe.  This is pretty much a win-win situation for everyone.  I get glorious homemade fritters whenever the whim strikes and my roommate (read: husband) gets a good sleep in on Saturday mornings.

There are few things in life as impressive as fresh, homemade doughnuts and these apple fritters are sure to provide ample praise with minimal effort on your part.  

My only word of advise?  Don't tell anyone how easy they actually are ;)

If you're looking for a demo of this recipe or perhaps a tasty cocktail also inspired by apples, check out my segment on Your Morning!


Apple Fritters

Makes about 18 fritters

Vegetable oil, for deep frying
1 cup all purpose flour
¼ cup sugar
1 slightly heaped tsp baking powder
½ tsp salt
1 tsp cinnamon
pinch freshly grated nutmeg
1 egg
¼ cup + 2 tbsp buttermilk
1 tsp vanilla extract
1 tbsp melted unsalted butter
1 ½ cups peeled and cored apple, chopped into a ½ cm dice (I like Macintosh or Granny Smith)
Powdered sugar or Maple glaze (recipe follows)

Heat about an inch and a half of vegetable oil  in a large, deep pot over medium/medium-low heat until a thermometer registers between 340-350F

Meanwhile, in a large bowl, whisk together the flour, sugar, baking powder, salt, cinnamon, and nutmeg and set aside.  In a separate bowl, mix the egg, buttermilk, and vanilla.

Gently fold the wet ingredients into the dry, add the melted butter after about three stirs, and continue to mix until almost combined.  Add the apples to the fritter batter and fold in.

When the oil is heated, carefully drop five or six heaped tablespoons of batter into the hot oil.  Make sure that each of the fritters has at least 2 inches of space between it and the next so that they brown evenly and the pan does not become overcrowded.  Fry until golden brown, about 2-3 minutes per side.

Remove from the oil and place on a cooling rack to drain and cool slightly and enjoy as is, dusted with icing sugar, or snazzed up a bit with a maple glaze (recipe follows)!


Maple Glaze

1 tbsp unsalted butter, melted
¼ cup maple syrup
1 cup powdered sugar
pinch salt
1 - 4 tbsp warm water, if needed

In a small frying pan, melt the butter over low heat then add in the maple syrup.  Remove the pan from the heat and carfully stir in the powdered sugar and salt.  The glaze should be quiet thin but should still be able to coat the back of a spoon.  If the glaze needs thinning, add warm water, 1 tablespoon at a time, until it reaches the desired consistency.  If the glaze looks a little speckled, no worries.  That's just the butter solidifying again.  Pop the pan back on the heat for 10 seconds or so and that should fix everything!

Dip or dunk the cooled fritters into the warm glaze and allow to set for a few minutes before digging in!