Carrot Cake aka The only cake I want for my birthday

Carrot Cake

Carrot Cake

Confession: I am not all that big on cake.

Don’t get me wrong, I love baking and decorating all sorts of cake-ish confections and the celebration and excitement that goes hand-in-hand with bringing a cake to the table is unlike anything else.  That childlike joy that lights up the faces of true cake lovers like my sister-in-law Jenna is probably one of the best things to see on an adult human’s face but digging into a big slice of double chocolate, super fudgy, oh-so sweet cake is not something I crave.  I am and forever will be a savoury over sweet lady. 

Now, please excuse me while I immediately contradict what I’ve said above by introducing you to my good friend Carrot Cake.   I love carrot cake for its sneaky ability to feel just a wee bit savoury while still satisfying the cake-lovers in the crowd.  This carrot cake is so wonderfully moist and can easily be baked up into two lovely loaves (bake for 45-50 minutes) or 24 muffins (bake for 20-25 minutes).

If you are a fan of raisins in your baked goods, feel free to toss a handful into the mix.  I am of the opinion that grapes are grapes, raisins are raisins, and raisins should never try to become grapes again like they tend to do when reconstituted in baked goods.


Carrot Cake

Makes 2 – 9” round cakes

4 eggs
1 cup sugar
1 cup brown sugar
2 tsp vanilla
1 cup vegetable oil
2 oranges, zested
2 ½ cup all-purpose flour
2 tsp baking powder
2 tsp baking soda
½ tsp salt
1 tbsp cinnamon
¼ - ½ tsp grated nutmeg, to taste
¼ - ½ tsp ground clove, to taste
3 cups coarsely grated carrot, about 5-6 medium carrots
1 cup chopped pecans or walnuts
½ cup finely chopped fresh pineapple
Cream cheese frosting, recipe follows
Optional garnishes: candied pecans or walnuts, candied orange slices

Preheat your oven to 350F and prepare two 9” round pans by lightly greasing and lining the bottom of each with a round of parchment paper.

In a large bowl, beat together the eggs and sugars with a whisk until slightly light and fluffy.  While whisking, slowly pour in the oil and continue to whisk until fully incorporated.  Stir in the vanilla and orange zest and set aside.

In a separate bowl, sift together the flour, baking powder, baking soda, salt, and spices.  Add this dry mixture to the wet and, using a wooden spoon or spatula, fold the mixture together until just combined.  Add the carrots, nuts, and pineapple and stir just until everything comes together.

Divide the batter between the two pans and bake for 40 – 50 minutes or until a toothpick comes out clean.  Allow the cakes to cool in the pans for about 20 minutes then carefully turn them out onto a wire rack to cool completely.  Once cool, frost your lovely little cakes with some cream cheese frosting and garnish to your heart's content! 


Cream Cheese Frosting

2 – 8oz packages brick cream cheese, room temperature
1 cup unsalted butter, room temperature
4 - 6 cups powdered sugar
¼ tsp salt
2 tsp vanilla
½ tsp cinnamon

Using either a hand mixer or stand mixer fitted with a paddle attachment, beat the cream cheese and butter together until smooth.  Begin adding the powdered sugar ½ cup at a time mixing on low in between each addition, scraping down the sides of the bowl as needed.  Keep adding icing sugar until your cream cheese frosting is a spreadable consistency and finish by beating in the salt, vanilla, and cinnamon.

Candied Oranges: They go with pretty much everything

Candied Oranges

Candied Oranges

I really can’t get over how beautiful and versatile candied oranges are.  Those sweet little chewy rounds are wonderful scattered atop cakes, stacked on a cheese board, or even popped onto the edge of a cocktail glass.

The orange-infused syrup that results from the candying process is just an added bonus.  Save it for cocktails or pour a good glug over French toast this weekend.


Candied Oranges

2 cups sugar
2 cups water
2 oranges, peel on and sliced as thinly as possible*

In a medium saucepan, combine the sugar and water and bring to a boil over medium-high heat.  When boiling, add the orange slices, reduce the heat to low, and place a circle of parchment paper over the liquid to ensure that the orange slices stay completely submerged.

Simmer the citrus for 2 – 2 ½ hours then remove from the heat and allow the whole mixture to cool to room temperature. 

For a softer candied orange, remove the orange slices from the syrup and allow them to dry on a cooling rack for a few hours before using or packing into an airtight container with a small piece of parchment separating each slice.

For a chewier orange, heat your oven to 250F.  Line a baking sheet with parchment paper and lay the orange slices in a single layer on top.  Place a second sheet of parchment on top of the orange segments followed by another baking sheet.  Pop this into the preheated oven for 1 hour.  When done baking and the pan is cool enough to handle, remove the top pan and layer of parchment.  Carefully peel the candied orange slices from the bottom sheet of parchment and allow to cool.  Use immediately or transfer to an airtight container for storage.

Whether you want softer or chewier oranges, be sure to save that delicious syrup for cocktails or anything else that could use a syrupy orange kick!


*If, when slicing your oranges, you find it difficult to get thin and even slices, feel free to halve the orange and slice semicircles of the fruit for candying.

That sweet and salty crunch of Candied Nuts

Open my pantry and you are pretty much guaranteed to find a store of candied nuts just waiting to be sprinkled on salads, cakes, yogurt, or simply eaten by the handful.  This is the most basic of recipes for candied nuts so feel free to put your own spin on it.  Give this recipe a whirl with almonds, walnuts, cashews, peanuts, pistachios, or whatever you have on hand.  If you're feeling extra snazzy, add a bit of cinnamon, some crunchy salt flakes, curry powder, or even some fresh chopped rosemary!


Candied Nuts

Makes 2~ cups

¾ cup white sugar
2 cups nuts
¼ tsp kosher salt

Before you start cooking, set up a cooling station for your nuts by placing a silpat or piece of parchment paper on a cookie sheet.

For the nuts, evenly sprinkle the sugar across the bottom of a medium stainless steel frying pan and place it over medium heat.  Without stirring, allow the sugar to melt and turn a lovely golden colour.  Once all of the sugar has melted and is caramelized to a rich amber, remove the pan from the heat and quickly and carefully stir in the nuts. 

Working fast, pour the nuts onto the prepared cooling station and, using a heatproof spoon or spatula, spread the nuts into an even-ish layer.  Sprinkle the top with the salt and allow to cool completely.  Once cool, break the candied nuts apart and store in an airtight container.

Breakfast for Dinner: Lemon Poppy Seed Pancakes

Lemon Poppy Seed Pancakes

Lemon Poppy Seed Pancakes

Mardi Gras.  Fat Tuesday.  Shrove Tuesday.  Whatever you call it, there is only one thing to do today: eat all of the pancakes. 

As a kid, my favourite meal was pancakes and “chachiches” (read: garbled baby-speak for breakfast sausages) so Pancake Tuesday has always been a favourite of mine.  To be honest, I think the tradition of tucking into a big old stack of fluffly little cakes for dinner on a mid-winter Tuesday is one of the only unchanged holiday rituals us Berg’s have.  Christmas has been bent to accommodate new families, Easter is spent sans Mama Berg as she usually skidaddles down South for a girl’s trip, and Thanksgiving is kind of just a free-for-all.  Somehow, thankfully, Pancake Tuesday has stood the test of time.

The idea of “Fat” days has been recently expanded by my hubs’ Polish heritage.  He introduced me to “Fat Thursday” where you are meant to indulge in these gigantic Polish doughnuts called Paczki.  Holy bananas, are they ever tasty but do be warned: some that appear to be filled with chocolate are in fact filled with pureed prune.  It’s not a wholly unpleasant flavour but it is quite a shock when you are expecting a rich chocolate ganache and are instead met with the unctuous, I guess sort of sweet, funk of a prune.

As per usual, I digress.  Back to pancakes.

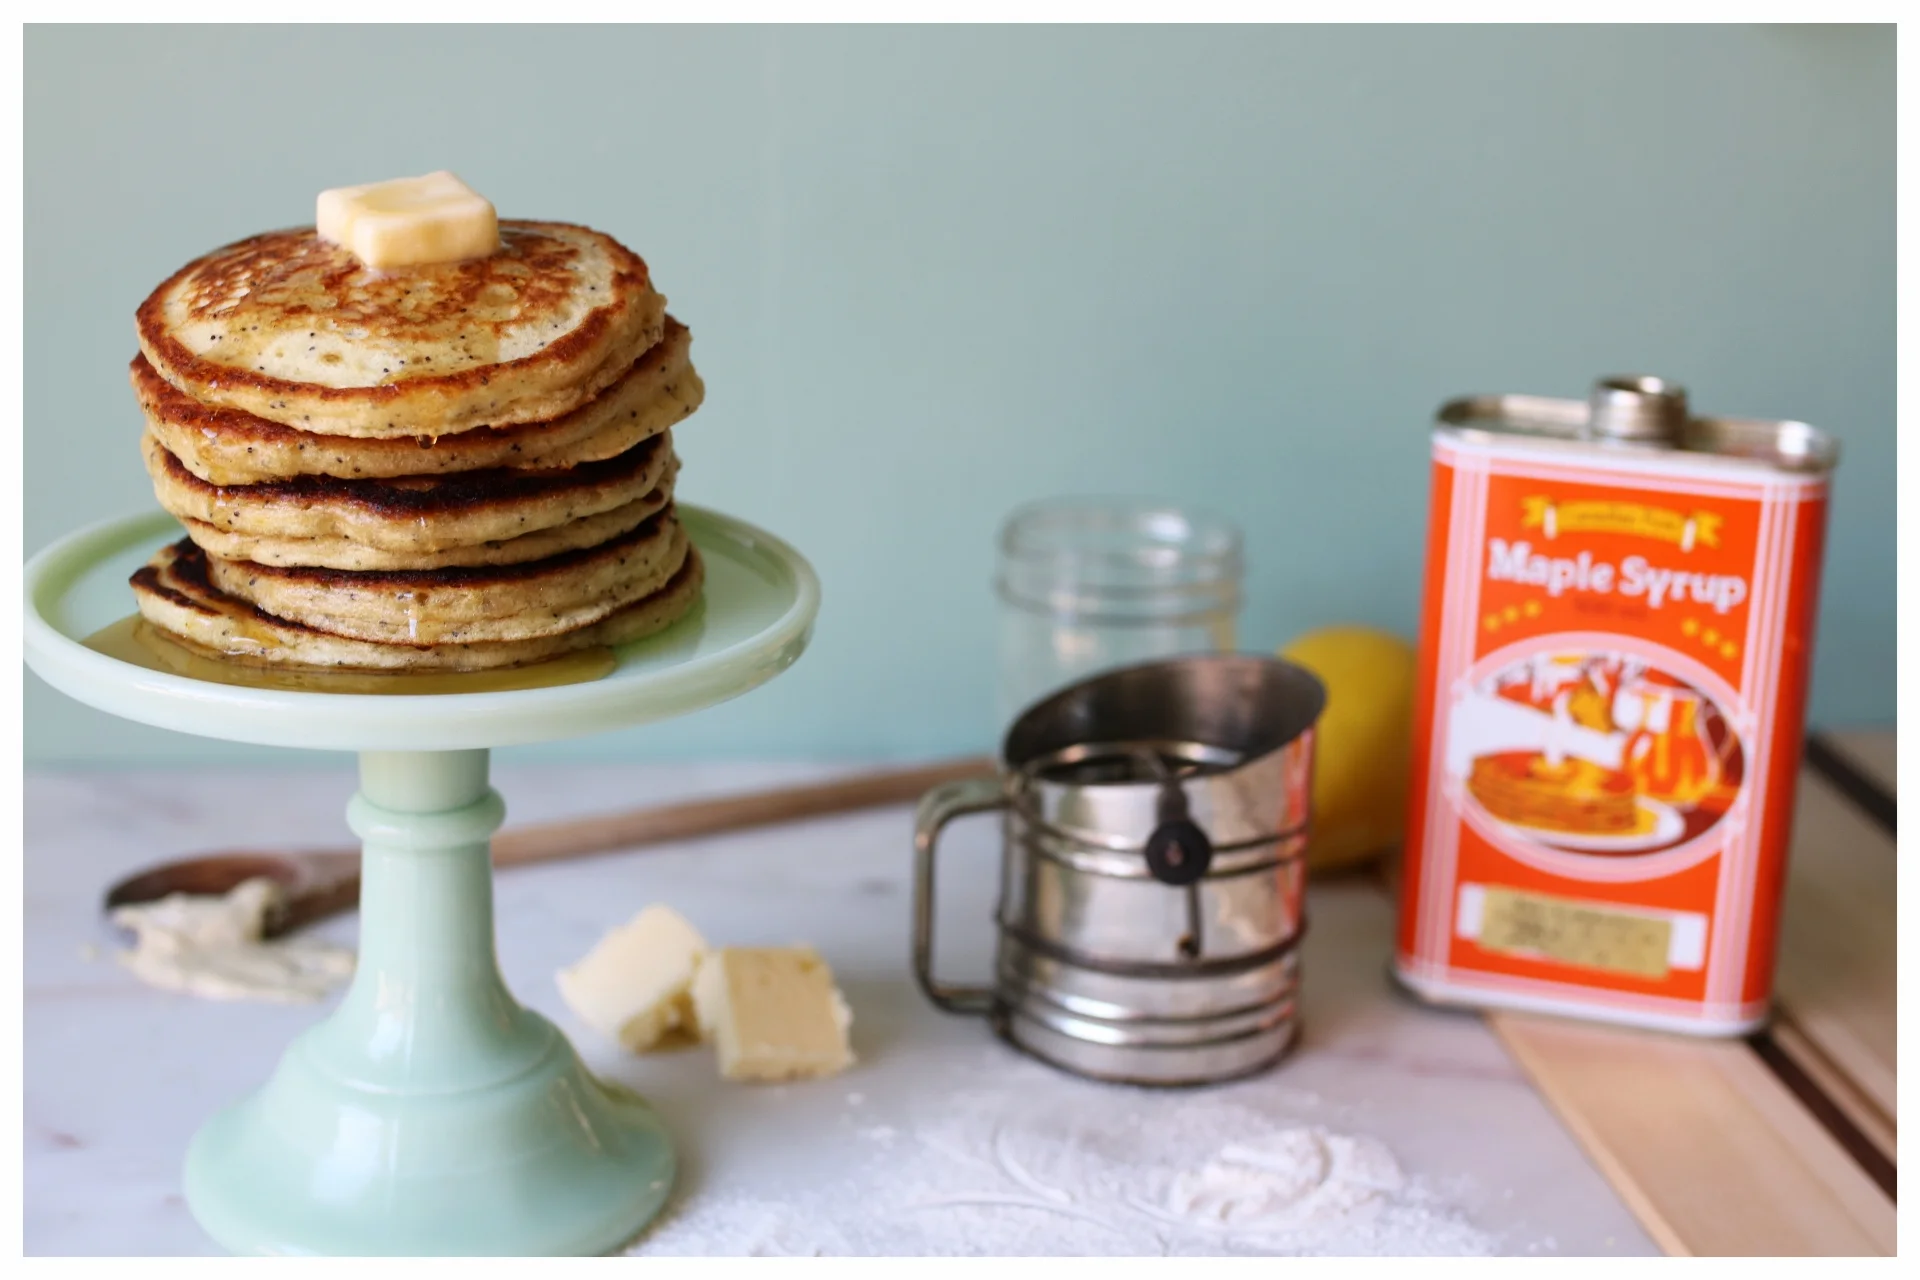
Here is my recipe for my current fave ‘cakes, lemon poppy seed.  The zest of a lemon and speckley little poppy seeds makes this childhood favourite seem just a little more ‘adult’.  Stacking them high and drowning with melting butter and warm maple syrup on the other hand is a total 4-year-old Mary move. 

One can’t be expected to be grownup all the time.


Lemon Poppy Seed Pancakes

Makes 10 – 12 pancakes

2 Tbsp unsalted butter, melted
1 ¼ cup all-purpose flour
1 tsp baking powder
½ tsp baking soda
¼ tsp salt
2 Tbsp sugar
2 tsp poppy seeds
1 ½ cup buttermilk
1 egg
½ tsp vanilla
1 lemon, zested
Butter and canola oil, for cooking the ‘cakes

In a large non-stick skillet over low heat, melt 2 tablespoons of butter and preheat your oven to 200F.

Meanwhile, whisk together the flour, baking powder, baking soda, salt, sugar, and poppy seeds in a medium bowl and set aside.

In a small bowl, whisk together the buttermilk, egg, vanilla, and lemon zest.  Pour this wet mixture over the dry and stir about five times to slightly combine.  Pour in the melted butter, placing the pan back over the heat, and stir the pancake batter just until it comes together but a few lumps still remain.

Turn the heat on the pan up to medium and pop a little pat of butter and a splash of oil in there to melt together.  When the butter is bubbling, spoon about a ¼ cup of batter onto the skillet for each pancake and cook until bubbles start to appear on top.  Check the underside to see if they are golden brown and flip.  Cook about another 1 – 2 minutes on the second side and keep the pancakes warm in your oven until all of the batter is used up.

Serve warm with lots of butter, maple syrup, fruit, and maybe some lemon curd!

Notes: If you’re looking for plain old pancakes, just omit the poppy seeds and lemon zest.
If you find yourself with any leftovers, place a small square of wax or parchment paper between each pancake, wrap the stack well with plastic, and pop in the freezer.  To reheat, just use your toaster!